Key takeaways
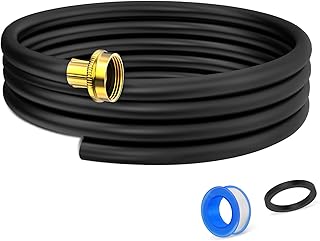
- Biofilm and stale taste — a sanitizing solution is what you want. A purpose-made kit like the Water Cooler Cleaning Kit is formulated for potable-water equipment and comes with the reservoir brush and tubing attachment sized for both bottom- and top-load units.
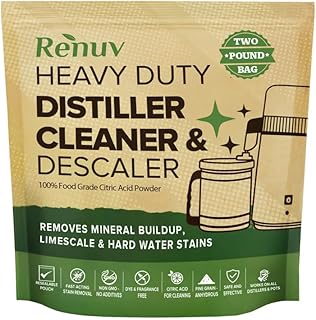
- Limescale and chalky white crust — this needs acid. Renuv Citric Acid dissolves mineral deposits without the lingering smell of vinegar, and a 2 lb bag will outlast several years of dispenser maintenance while doubling for your kettle and coffee maker.
What's inside
In a small apartment, a water dispenser earns its footprint by being the thing you touch a dozen times a day. That constant use is exactly why it needs attention: every fill cycle draws room air into the reservoir, and warm, still water in a dark tank is a hospitable place for biofilm — that faintly slippery layer you can feel on the inside of a tank lip before you can ever taste it. Add hard water minerals baking onto a hot tank element and you get scale, cloudy ice, and a slow drip where you used to have a steady pour.
The good news is that a proper clean takes about forty minutes of mostly waiting, and it only needs to happen a few times a year. Below, you’ll learn how to break the job into the four zones that actually matter, which cleaning agent to reach for depending on whether you’re fighting slime or scale, how to reach the narrow tubing most people skip, and how to store your supplies in a cabinet that already has no room to spare.
As an Amazon Associate we earn from qualifying purchases.




Know Which Type of Dispenser You’re Cleaning
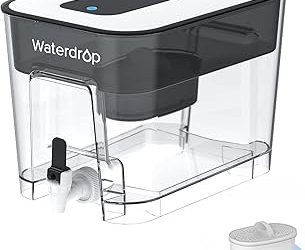
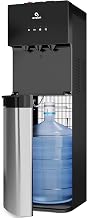
The method changes with the machine. A gravity-fed filter dispenser like the Waterdrop WFD-22L or a countertop pitcher such as the Brita Metro is essentially a two-piece plastic vessel — quick to disassemble, dishwasher-friendly in parts, and cleaned mostly by hand. A bottom-load cooler like the Brio 520 is a sealed system with an internal pump, a hot tank, a cold tank, and a length of intake tubing running down to the bottle. That tubing is the single most overlooked surface in the whole appliance and the most common source of off-flavors. Identify your type first, because sanitizing a cooler without flushing its lines is mostly theater.
Choose the Right Cleaning Agent for the Problem
There are two distinct enemies here, and they respond to different chemistry:
- Biofilm and stale taste — a sanitizing solution is what you want. A purpose-made kit like the Water Cooler Cleaning Kit is formulated for potable-water equipment and comes with the reservoir brush and tubing attachment sized for both bottom- and top-load units.
- Limescale and chalky white crust — this needs acid. Renuv Citric Acid dissolves mineral deposits without the lingering smell of vinegar, and a 2 lb bag will outlast several years of dispenser maintenance while doubling for your kettle and coffee maker.
Skip chlorine bleach unless the manufacturer specifically calls for it. It’s harsh on silicone gaskets and requires a long rinse to fully clear.
The Four-Zone Deep Clean
Unplug the unit and let the hot tank cool for at least two hours before you start — this is a safety step, not a suggestion. Then work through the zones in order:
- Reservoir: drain fully, then circulate your sanitizing solution and let it dwell per the label. Scrub the walls and the underside of the lid where condensation collects.
- Tubing and pump path: draw the solution through by dispensing until it runs from every spigot, then let it sit inside the lines.
- Spigots and drip tray: disassemble the taps if they come apart. The Holikme brush set is the right tool here — the thin straw-sized brushes reach into spout channels and the long-handle brush gets the full depth of a tall reservoir.
- Exterior and vents: wipe the rear condenser coils and grille. Dust there makes the compressor work harder and shortens its life.
Descaling the Hot Tank
If your hot water has slowed to a trickle or the unit has gotten noisier, scale is the likely culprit. Dissolve citric acid in warm water at roughly one tablespoon per quart, run it through the hot tap until the tank is full of solution, and let it sit for thirty to sixty minutes. You’ll often see the flow rate visibly improve on the flush. In hard-water regions this is a quarterly job; in soft-water areas, twice a year is plenty.
Rinse Thoroughly, Then Rinse Again
The step people rush is the one that determines whether your water tastes good afterward. Flush with at least two full bottles’ worth of fresh water for a cooler, or three complete fill-and-dump cycles for a pitcher-style dispenser. Taste a small sample before you call it done. Reinstall filters only after the rinse is complete — running sanitizer through a fresh cartridge wastes it and can shorten its rated life.
Tips
- Set a recurring phone reminder for every three months rather than trusting yourself to notice the taste change — biofilm builds gradually enough that your palate adjusts to it.
- Store cleaning supplies vertically in a single narrow bin behind or beside the dispenser so the whole kit travels to the sink in one trip.
- Wipe the top of the bottle neck and the bottle collar before every changeout; that ring of dust is what gets pulled straight into the reservoir.
- Air-dry all disassembled parts completely on a rack before reassembly. Trapped moisture in a closed reservoir is how a fresh clean goes stale in a week.
Frequently Asked Questions
How often should I clean my water dispenser?
A full sanitize every three months suits most households. Bump it to monthly if the unit sits in direct sun, in a warm kitchen, or in a shared office space with heavy traffic.
Can I just use vinegar instead of a dedicated cleaner?
White vinegar works for descaling, but it’s a weak sanitizer and the odor lingers in plastic and silicone for days. Citric acid powder handles the mineral side more cleanly, and a formulated kit does the sanitizing job properly.
Do filter pitchers need cleaning too?
Yes. Remove the cartridge, wash the pitcher and lid in warm soapy water, and pay attention to the reservoir seam and the pour spout — both trap residue that a rinse alone won’t lift.
Why does my water still taste odd after cleaning?
Usually incomplete rinsing or an expired filter. Flush more thoroughly first, then replace the cartridge. If the taste persists, the intake tubing likely needs its own dedicated pass.
Conclusion
Clean water from a small-space dispenser comes down to a simple rhythm: match your cleaner to the problem, work through the reservoir, lines, spigots, and exterior in order, descale the hot tank when flow slows, and rinse until the water tastes like nothing at all. Keep a compact kit within arm’s reach of the unit, and the whole routine becomes a quarterly forty minutes rather than a project you keep postponing.