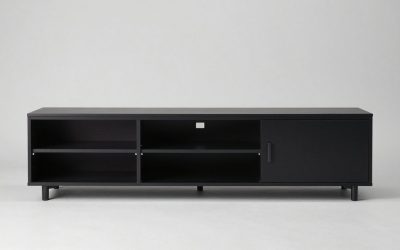
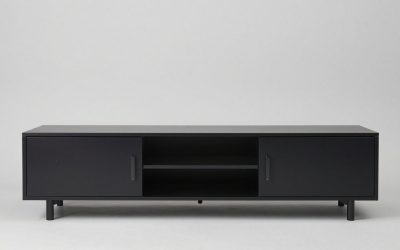
Begin by checking the cabinet manual and confirming that the proposed wall can support its prescribed fittings. The search phrase how to mount floating tv stand does not describe a universal procedure: the permitted wall fixings and mounting points change by model. Do not start drilling until those details are established.
As an Amazon Associate we earn from qualifying purchases.
By KK Home Furnishings Editorial Team
Before Mounting a Floating TV Stand
The most important installation decision happens before the first hole is drilled. Check the exact article number, the permitted wall material, and whether your proposed equipment load is allowed. Use this checklist to identify a clear path forward, or a condition that requires help from the manufacturer or a qualified installer.
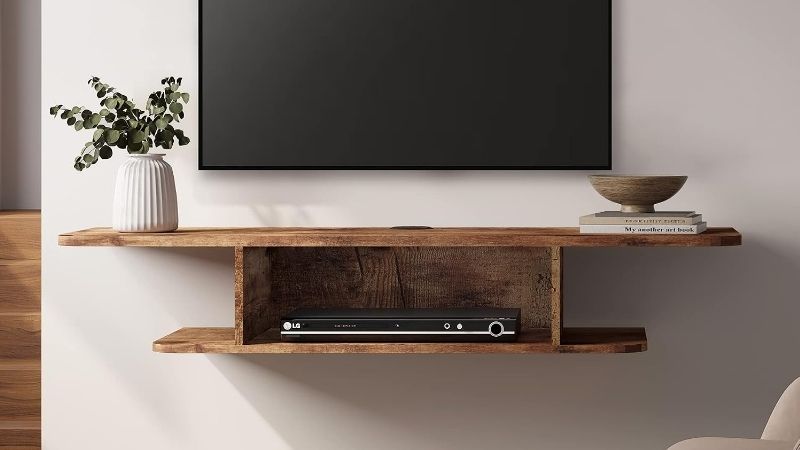
| Pre-Installation Check | What You Need | How to Verify | Stop If |
|---|---|---|---|
| Cabinet approval | Specific permission for wall mounting | Current instructions for exact model | Unit is described as floor-standing only |
| Correct fittings | Maker-approved hanger or fixing kit | Instruction diagrams and parts list | Hardware is missing or borrowed from another model |
| Wall structure | Approved fixing in suitable framing or masonry | Check wall type and underlying structure | Only unknown backing or fragile finish is found |
| Load arrangement | Supported cabinet and contents configuration | Published use and capacity conditions | Top-panel TV rating is treated as wall-load capacity |
| Wall hazards | Safe planned fastener locations | Check for concealed electrical and plumbing services | Utility path cannot be ruled out |
| Lift and clearance | Access for helpers and final fastening | Dry fit and inspect cable and door clearance | Cannot reach the required locking or fixing points |
A practical example is IKEA BESTÅ article 705.660.33, a 47 1/4-inch-wide, 15-inch-high TV unit that may be wall hung using its specified fasteners. IKEA explicitly says not to use the BESTÅ suspension rail for this TV unit. That product rule is more useful than generic advice to hang every cabinet from a rail [IKEA, 705.660.33, accessed October 2026].
Confirm That Your Exact Cabinet Can Be Wall Hung
Locate the item number on its packaging, receipt, or assembly documents. Then check the manufacturer’s latest wall-hanging directions for that exact version. A similar looking cabinet in the same furniture family may have different construction and different permissions. Do not assume that the presence of brackets in a photo constitutes an installation instruction.
For a concrete counterexample, IKEA’s 25 1/4-inch-high BESTÅ TV unit, article 805.660.37, must not be wall hung. Its low-profile relative, article 705.660.33, has a different rule [IKEA, accessed October 2026]. If the manual says the unit must stand on the floor, the safer response is to choose a unit specifically designed to hang.
Match the Installation to the Actual Wall Material
Identify whether the surface covers wooden studs, metal framing, sound solid masonry, or another construction. Drywall and plaster finishes cannot by themselves establish the wall’s load capacity. A stud finder helps with locating framing, but it does not identify every concealed pipe or cable, and a hollow masonry wall needs its own assessment.
IKEA’s US wall-and-screw guide distinguishes stud walls from solid walls and asks users to choose fasteners appropriate to the wall. This is guidance on selecting wall hardware, not a certified load limit for every floating media cabinet [IKEA, Creating Safer Homes Together, accessed October 2026]. If wall type or condition is uncertain, seek an experienced installer.
Gather the Correct Tools and Plan a Supported Lift
Typical tools include a tape measure, level, pencil, stud finder suited to the surface, drill and appropriate bits, a driver, and protective eyewear. Those are preparation tools, not a substitute for the mounting kit. Lay out the exact fittings, washers, locking parts, and wall fasteners specified by the cabinet maker before beginning the job.
Plan for an adult helper to support the empty furniture while you engage and secure its fittings; use professional help when the unit is too heavy or unwieldy. Remove doors and drawers only when the assembly instructions permit it, and protect the finished surfaces. Determine how you will reach the final fasteners without placing a hand beneath an unsupported cabinet.
How to Mount a Floating TV Stand Step by Step
The following six-step sequence applies only when the cabinet is approved for mounting and its required wall attachments are known. It explains what to check at each stage while leaving model-specific drilling positions, hole sizes, anchor type, and tightening instructions to the manufacturer. Stop whenever a condition in the manual cannot be met.
Step 1: Assemble and Inspect the Cabinet Before Lifting
Build the cabinet exactly as its assembly sheet directs, including structural panels, hardware and rear mounting connections. Check that the case is square, its panels are fully seated, and any factory hanger is installed in the correct orientation. Do not create extra mounting holes through thin back panels or substitute decorative screws for structural cabinet fittings.
Inspect the unit for cracked particleboard, damaged screw holes, distorted metal brackets, or missing cam locks before it goes near the wall. Even a new cabinet can be damaged during shipping. A clean and fully assembled empty case is easier to handle than one loaded with receivers, books, or a television while its final connection remains unfinished.
With the cabinet still on a stable surface, identify how the chosen system engages: some designs hook onto dedicated hangers, while others have direct mounting points. Trace the manufacturer’s diagrams from first engagement to final lock. If a fitting is absent or unclear, obtain the correct part rather than improvising a generic L-bracket.
Step 2: Locate Structural Attachment Points and Check Hazards
Mark the boundaries of studs or other approved structural attachment locations, then check them against the hole pattern of the actual cabinet or prescribed wall plate. Stud spacing and bracket layout do not always coincide. Where the chosen product requires a fixed attachment configuration, a mismatch is a reason to reassess the plan before touching the drill.
Check for outlets, switches, water lines, and likely concealed wiring or plumbing near the marked locations. Follow safe building practices and use an appropriate utility-detection method for the wall construction. If you cannot confidently exclude hidden services or distinguish solid material from hollow backing, hand that assessment to a qualified professional.
Keep the structural question separate from the room design. A wall may offer the desired cabinet height but lack appropriate attachment points at those positions. Moving the furniture slightly or choosing a different supported unit is preferable to forcing the fittings into unsuitable drywall. Viewing-height decisions are a separate layout question, not an anchor specification.
Step 3: Transfer the Manufacturer’s Layout to the Wall
Use the supplied paper template or dimensional diagram to transfer mounting positions to the wall. Check the layout against the cabinet’s actual rear attachments and confirm that all holes land where the approved fixing scheme requires them. A level helps establish a consistent reference; do not estimate a line from the skirting board or an uneven floor.
Dry-check the full footprint before drilling. Doors should swing or slide freely, electronics should have the clearances required by their own manuals, and cables must be able to reach the intended outlets without pinching. Verify that the mounting hardware will still be accessible after the cabinet is raised, particularly if its locking screws are concealed.
Ask the helper to independently read back the marked locations and compare them with the manufacturer’s diagram. Small layout errors can leave one hanger barely engaged or place unnecessary stress on the cabinet joints. If the attachment points do not align with the verified structure, stop and change the approved layout rather than drilling a workaround.
Step 4: Drill and Secure Only the Approved Wall Hardware
Make pilot holes only where the instructions and the verified substrate permit, using the bit and depth required for the selected fitting. Avoid treating a drywall-anchor package capacity as automatic approval for a heavy TV cabinet. Fasteners must be suited both to the wall material and to the hanger geometry specified for the particular furniture system.
Attach any required wall plates or prescribed fasteners in the order shown by the product instructions. Use all mandatory connection points and observe the stated washer or screw orientation. The installer must not replace a missing wall plate with a convenient metal strip or use a suspension rail that the furniture manufacturer prohibits.
The IKEA BESTÅ TV unit 705.660.33 illustrates why parts matter: its official product information specifically rules out the BESTÅ suspension rail for the TV unit [IKEA, accessed October 2026]. A separate IKEA EKET cabinet range includes its own suspension rails, which does not make those EKET parts compatible with BESTÅ or with another brand’s console.
Step 5: Lift, Engage and Lock the Empty Cabinet
With a helper carrying the weight, raise the empty cabinet toward the prescribed wall fixings. Engage each hanger or mounting point as the directions show, keeping the case supported until all required parts have seated. Do not let go after hearing one click or after a single bracket catches; confirm engagement at every specified location.
Fit the manufacturer’s final locking screws, safety retainers, or adjustment hardware in the stated sequence. Some cabinet systems permit minor alignment adjustments after they are fully supported; others do not. Recheck the level and all accessible attachments without using excessive force that might strip a connector or damage the cabinet material.
If the cabinet will not sit flush, twists when lifted, or leaves a bracket visibly disengaged, lower it with assistance and diagnose the mismatch. Do not tighten one side harder to drag a warped cabinet into place. A unit that appears level in a photograph is not necessarily secure when a hidden mounting point has failed to engage.
Step 6: Check Security, Then Restore the Intended Equipment
Perform the stability and connection checks described in the manufacturer’s installation instructions while the cabinet remains empty and supported as required. Inspect the gap against the wall, every accessible fastener, and the operation of doors or drawers. Do not jump onto, hang from, or abruptly overload the unit as an improvised strength test.
Before adding equipment, confirm which load arrangement is actually permitted. IKEA lists a 35-pound maximum TV weight for the top of BESTÅ 705.660.33, yet separately says a wall-hung unit’s maximum load depends on the wall material [IKEA, accessed October 2026]. The top-panel figure is not a stand-alone clearance for hanging a loaded cabinet.
Route cables without trapping them behind a sharp cabinet edge, leave equipment ventilation unobstructed, and avoid excessive pulling on power cords. A separate wall-mounted TV should be installed on its own approved mount; do not assume furniture brackets can support the screen. Reinspect accessible fittings at intervals specified by the maker, especially if a gap or movement develops.
Frequently Asked Questions
Installation questions often arise only after the cabinet is assembled and the wall has been checked. The answers below distinguish extra permissions, unavailable information, and practical aftercare. None overrides a model’s instructions, and uncertain structural conditions call for assessment rather than trial and error.
Can I Install a Floating TV Stand on a Rental Apartment Wall?
Possibly, but first obtain any required permission from the property owner or manager and check the wall construction. A proper load-bearing installation may require holes into suitable framing or masonry that cannot be concealed with removable adhesive. The final repair obligation also depends on the lease and any building restrictions.
If the only permitted changes are small picture hooks or removable strips, do not interpret that as approval for a heavy suspended media cabinet. A floor-standing TV console with the maker’s required anti-tip restraint may be more suitable. Confirm the restraint method is acceptable rather than leaving a free-standing unit unsecured.
What If a Floating Stand Arrives Without Its Mounting Kit?
Do not install it until you obtain the correct approved parts and a matching instruction sheet. The absence of a bracket is not evidence that any similarly shaped hanger will work. Contact the maker or authorized supplier with the exact product number, version, and photos of the original attachment points.
Avoid generic hardware substitutions made solely by matching screw holes or cabinet width. Those comparisons do not establish the suitability of the full connection. If no verified replacement parts or mounting instructions exist, use an appropriately designed floor-standing alternative rather than attempting an unapproved retrofit.
Should the Television Be Installed Before the Floating Cabinet?
The safest sequence depends on the two manufacturers’ instructions and access needed for mounting. A separately wall-mounted television and a hanging cabinet have different fixing systems. Plan their combined footprint, cable routes, and required clearances before drilling either set of holes, especially where one assembly would block access to the other.
Do not rest the television temporarily on an empty floating cabinet while its fasteners are incomplete. The U.S. Consumer Product Safety Commission advises placing televisions only on furniture intended to hold them and following maker directions to secure furniture and screens [CPSC, Anchor It!, accessed October 2026].
What Does a Growing Gap Between the Cabinet and Wall Mean?
A new or widening gap, sagging corner, loose screw, cracking cabinet panel, or recurring tilt is a warning to stop using the unit and remove accessible contents without putting anyone beneath it. These signs do not identify one certain cause. Damage can be present at the wall, the bracket, or the cabinet’s own structural connection.
Do not conceal the gap with trim or try to correct movement by adding random fasteners while the cabinet is loaded. Have the mounting arrangement assessed before returning it to service. Photographs of the gap and the exact item number can help the manufacturer or qualified installer identify the components that require inspection.
Final Thoughts
The safe answer to how to mount floating tv stand furniture begins with a model that is genuinely approved for hanging. Confirm the substrate and proper hardware, follow its marking and fastening sequence, engage every lock, and check the empty cabinet before adding equipment. If any critical instruction is missing, do not improvise.