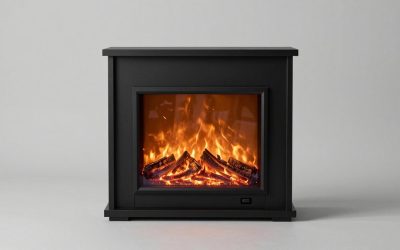
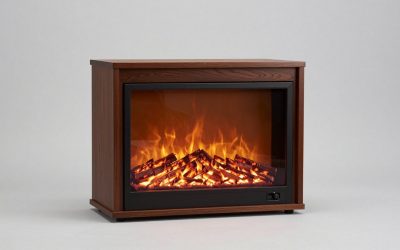
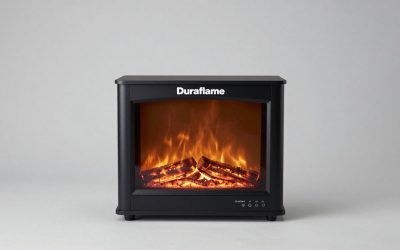
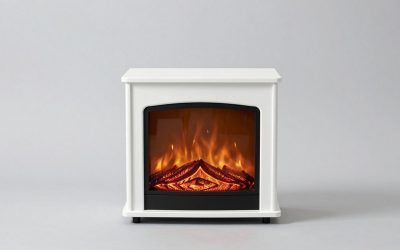
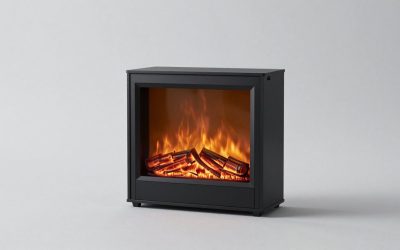
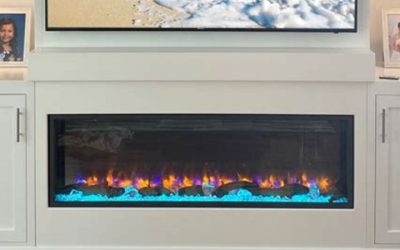
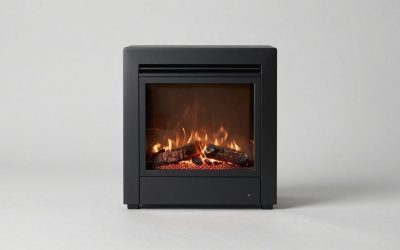
Start by identifying the exact Dimplex firebox and cabinet models, confirming that their mounting instructions agree, and checking the airflow and outlet before fitting anything. The search how to install dimplex firebox into media console covers both compatible kits and risky retrofits, so the cabinet documentation matters as much as the firebox manual. For a compatible Dimplex XHD plug-in firebox, that means positioning and securing the unit before restoring its front glass and plugging it directly into a suitable grounded wall receptacle. A random TV cabinet is not automatically an approved fireplace enclosure.
As an Amazon Associate we earn from qualifying purchases.
By KK Home Furnishings Editorial Team
Check Firebox Fit, Cabinet Support, and Power First
Before touching a mounting screw, compare the model label on your unit with the current manual. The XHD23L is a useful example because Dimplex documents both its overall dimensions and the smaller rough-opening dimensions beneath its front trim. This guide addresses a compatible, plug-in XHD-style installation, not converting a hardwired firebox or cutting a generic entertainment center until it fits.
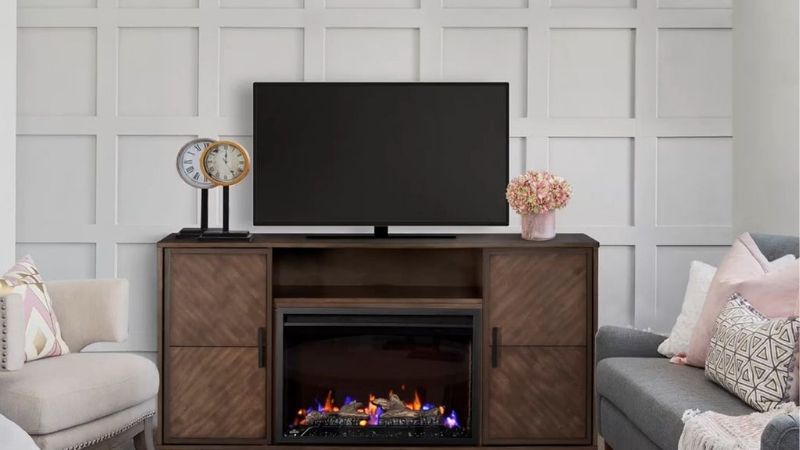
Identify the Actual Firebox and Compatible Console
Look for the complete identifier, such as XHD23L, XHD23G, XHD26L, or XHD26G, and then locate the assembly instructions for the cabinet. Similar-looking Dimplex fronts can conceal different installation measurements. The company’s Xavier media console, for example, was offered with an XHD23L or XHD23G firebox, so its component pairing provides a real illustration of intended compatibility, not proof that other cabinets accept that insert.
Check whether the console’s instructions specifically list your firebox and whether its factory opening, internal supports, bracket holes, trim position, and rear access remain intact. A manufacturer-matched surround is preferable to assuming any furniture with enough empty space is suitable. If you have no installation specification for a repurposed cabinet, stop and obtain written compatibility guidance from Dimplex or the cabinet maker before altering the furniture.
Compare Firebox Dimensions With the Framed Opening
In the Dimplex XHD owner’s manual, the XHD23 firebox measures 23 inches wide, 20.5 inches high, and 7.5 inches deep overall. Its specified minimum framing opening is 21.5 inches wide, 20 inches high, and 8 inches deep. These are different measurement points: the visible front and housing are not the same thing as the part that enters the framed recess. Do not reduce an opening because an unrelated insert uses a smaller figure.
The same manual specifies space for air circulation under the firebox and at least half an inch behind it. Treat those as requirements for the identified XHD family, not as universal Dimplex dimensions. Check that the console has a level bearing surface, access for the mounting fasteners, room for an unpinched cord, and a free front heat outlet. A cabinet that restricts airflow is not made safe merely by leaving its doors open.
Plan the Power Supply and Furniture Stability
The cited XHD manual lists 120-volt, 60-hertz plug-in operation, a 12.5-amp rating, and a 15-amp circuit requirement. It states that a dedicated circuit is preferred but is not necessary in every installation, and that recurring breaker trips require attention to the circuit. Confirm the actual nameplate before using these values for a different Dimplex model. Have a qualified electrician assess an unsuitable, ungrounded, damaged, or inconvenient outlet rather than modifying the plug.
Locate the receptacle so the factory cord reaches without being trapped by the rear panel or tucked under a rug. The XHD instructions prohibit extension cords and power strips. Also inspect the cabinet’s feet, shelves, and fasteners before adding the firebox; a media console must support its equipment and any television load under its own stated limits. Use the cabinet manufacturer’s anti-tip arrangement where provided, especially around children and pets.
| Material or Tool | Size or Spec | Cost Tier | Substitute or Note |
|---|---|---|---|
| Exact model manuals | XHD firebox plus console assembly guide | No added hardware | Request documents by both model numbers |
| Tape measure | Opening width, height, depth, rear space | Basic tool | Do not measure the decorative trim alone |
| Level | Check stable shelf and front alignment | Basic tool | Correct furniture assembly, not firebox housing |
| Mounting fasteners | Only the types and positions allowed by manual | Supplied or variable | Use appropriate screws where maker permits |
| Original ember media | Media approved for exact L or G configuration | Usually supplied | Do not add unapproved decorative items |
| Grounded wall outlet | Voltage and circuit per unit nameplate | Existing or electrician | No extension lead, strip, or plug alteration |
How to Install the Firebox in a Media Console
The physical sequence is short only when the enclosure is already approved. The XHD owner’s manual describes placing the firebox, fastening it through manufacturer-designated positions, and completing the display assembly. The following six steps translate that sequence into practical checkpoints; use your two manuals whenever a particular cabinet has its own required order of construction.
Step 1: Inspect the Cabinet and Unpack the Correct Unit
Unplug the firebox if it has been used, let it cool, and protect the floor while you prepare the assembly. Confirm the package contains the intended model, front glass, approved flame-bed media, remote, and any hardware specified for that version. Examine the heater face, frame, cord, and plug for shipping damage. If a component is bent or an electrical lead is damaged, do not attempt a test run or cover the defect with trim.
Build the media console to the point directed in its assembly booklet, leaving the firebox opening and attachment points accessible. Check that each structural panel is fully seated and hardware is secure. Do not remove a shelf or back brace simply to force in a larger unit; the piece may also help support the furniture or contain its mounting hardware. Set aside decorative trim only if the console manual instructs you to do so.
Step 2: Dry-Fit the Opening and Confirm Rear Airflow
With power disconnected and the front glass protected, position the firebox at the cavity without pushing it into resistance. Check the framed opening at several points, because uneven furniture assembly can narrow the usable space. The finished front should sit as shown in the manual, while the housing rests on the intended supports. Measure the depth behind the unit and make sure a cabinet panel does not eliminate the clearance Dimplex specifies.
Look for an unobstructed path for air beneath the housing and a clear front discharge. The XHD instructions caution against setting the unit directly on carpet or another soft material that can interfere with circulation. A loose shelf liner, decorative cloth, or stored basket can create a similar obstruction inside the furniture. If the cavity fails these checks, stop. A smaller firebox or manufacturer-compatible media console is a better solution than reshaping the heater chassis.
Step 3: Arrange Only the Supplied Fire-Bed Media
For an XHD model using the acrylic-media configuration, the installation manual instructs users to distribute the small supplied crystals across the tray and arrange the larger crystals near the flame panel. The log-set version uses its own factory-specified display arrangement. The XHD instructions also identify optional driftwood accessory kits for certain G variants, so a kit appropriate for another size is not automatically compatible with the firebox in front of you.
Complete this work before attaching the front glass if that is the sequence shown in your manual. Keep loose pieces inside the designated media tray, clear of mechanical openings. Do not improvise with stones from a garden, candles, wood, or other decor. The visual appearance is adjustable through permitted accessories and flame settings; the heater compartment and electrical components are not a place for decorative changes.
Step 4: Secure the Firebox at Its Designated Mounting Points
For a Dimplex mantel with matching side-panel holes near the top, the XHD manual directs the installer to line the firebox front up with the mantel face and use the provided screws through the corresponding inner front holes. For a custom mantel or existing opening, it describes an appropriate screw through the designated front or rear hole on the inside face of the firebox. These are alternative mounting provisions, not permission to drill new holes through an arbitrary part of the chassis.
The manual also describes a supplied L-bracket option for a mantel without matching side holes, attached at the designated rear bottom flange location. Which method is suitable depends on the particular unit, fasteners, and sound structural material in the approved surround. Check the console’s own diagram for its fastening sequence. If its panels have no suitable attachment arrangement, do not rely on friction, adhesive strips, or decorative face trim to restrain the heater; request model-specific guidance instead.
Step 5: Restore the Glass and Route the Factory Cord
Once the housing is stable, install the front glass and any approved trim exactly as the manual shows, without pinching a gasket or trapping media between glass and frame. The completed front should remain accessible so the controls and the air outlet are not obstructed. If a mounting fastener remains hidden behind the glass, complete and inspect that fastening before closing the assembly rather than trying to reach it through an unsafe opening.
Route the unmodified factory cord toward its grounded wall outlet, avoiding furniture edges, hinges, moving drawers, heat outlets, and locations where the plug cannot be disconnected. The Dimplex manual expressly rules out an extension cord and relocatable power strip for the XHD models covered. Do not bury a plug connection within a closed cavity or pass the cord through an unprotected sharp-edged hole. Have a qualified electrician provide a suitable receptacle if one is not already available.
Step 6: Test Flames, Heat, and the Finished Installation
After checking that the mounting is secure and both vents remain clear, connect the plug directly to the appropriate receptacle. Stand in front of the unit and use the factory controls to verify the flame effect, then check heat operation according to the model manual. The XHD manual identifies separate flame and heater functions and notes that its fan may continue briefly after heating is switched off. That cooling behavior should not be mistaken for a defect in this documented family.
Watch for abnormal noise, an unfamiliar hot smell that persists, a damaged or heating plug, a tripping breaker, or restricted airflow. Switch off, disconnect power, and seek manufacturer or electrical support rather than repeatedly resetting a problem. Finally, inspect the console for rocking, correct any furniture assembly issue, and fit the anti-tip restraint specified for that cabinet. Recheck cable access with the media console in its final position instead of judging clearance while it is pulled away from the wall.
Frequently Asked Questions
Can a Dimplex Firebox Run With Flames but No Heat?
Yes, the XHD family covered by Dimplex’s documented control guide provides a flame-effect function that can be used without heating. That makes a compatible media console useful as a visual focal point even when supplemental warmth is unnecessary. Confirm the controls for your particular model, because the user interface and available effects vary across Dimplex product families.
After installation, test this mode separately from heater operation. A flame-only setting can help you distinguish normal lighting behavior from a heater fault without opening the case. It does not change the need for a correct mounting arrangement or safe power connection; the appliance remains an electrical device inside furniture even when no heated air is being requested.
Can I Use an Electric Fireplace Insert Instead of a Firebox?
Not automatically. Dimplex distinguishes a fireplace insert designed for an existing masonry or fireplace opening from a firebox intended for new framing or a compatible surround. Both may produce an electric flame effect, but installation hardware, framing requirements, and airflow provisions need not match. The everyday names are sometimes used loosely in listings, which is why the exact model number matters.
If you already own a plug-in insert, check its own installation guide and the media console maker’s documentation before treating it as an equivalent replacement. A unit described as twenty-three inches wide may have a different faceplate, feet, heat exhaust arrangement, or fastening system from the XHD23 example. An apparently close visual fit is not an engineering approval.
Can a Television Sit Above the Installed Fireplace?
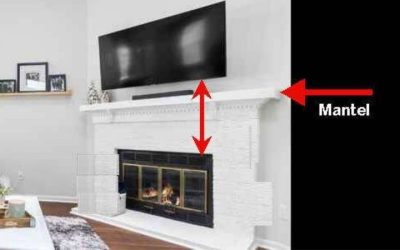
Only when the console manufacturer allows the TV’s size, weight, and placement and the fireplace instructions allow the surrounding arrangement. The Dimplex Xavier example is sold as a media-console fireplace, but that pairing does not establish a universal television weight limit for other Dimplex surrounds. Use the specific console’s top-loading rating and the television’s actual base footprint rather than its screen diagonal.
Keep the screen, soundbar, decorative objects, and stored electronics clear of the front heat discharge. If you plan to wall-mount the television above the cabinet, follow both the wall-mount manufacturer’s support instructions and the fireplace manufacturer’s placement limitations. Do not infer a universal safe mounting height from one firebox’s overall dimensions.
Will Modifying a Regular Media Console Affect Warranty or Safety?
It can. Cutting cabinet braces, closing existing ventilation passages, or changing an appliance’s approved attachment points creates an installation different from the one documented by either manufacturer. Dimplex’s Xavier surround instructions warn against use with anything other than a Dimplex electric fireplace insert and list incorrect installation or alterations among circumstances affecting coverage. The wording and warranty terms for another console may differ.
Before committing to a retrofit, ask the manufacturers to confirm the specific furniture, firebox, cutout, support, and power plan. When they cannot confirm compatibility, consider a purpose-built fireplace media console or a standalone Dimplex setup designed for its own surround. The cost of different furniture is easier to evaluate than a hidden heat or electrical risk inside an improvised enclosure.
Final Thoughts
The deciding factor in how to install dimplex firebox into media console furniture is not whether the front trim covers the cutout; it is whether the chosen firebox, cabinet supports, specified airflow, attachment points, and grounded outlet agree with the manuals. If any one of those conditions cannot be verified, postpone installation and select a documented compatible pairing instead of modifying the appliance.